How to Assemble a Dog Crate: Step-by-Step Guide
Senior Canine Nutritionist & Dog Behavior Specialist at Cozy Dog Go Wellness Lab
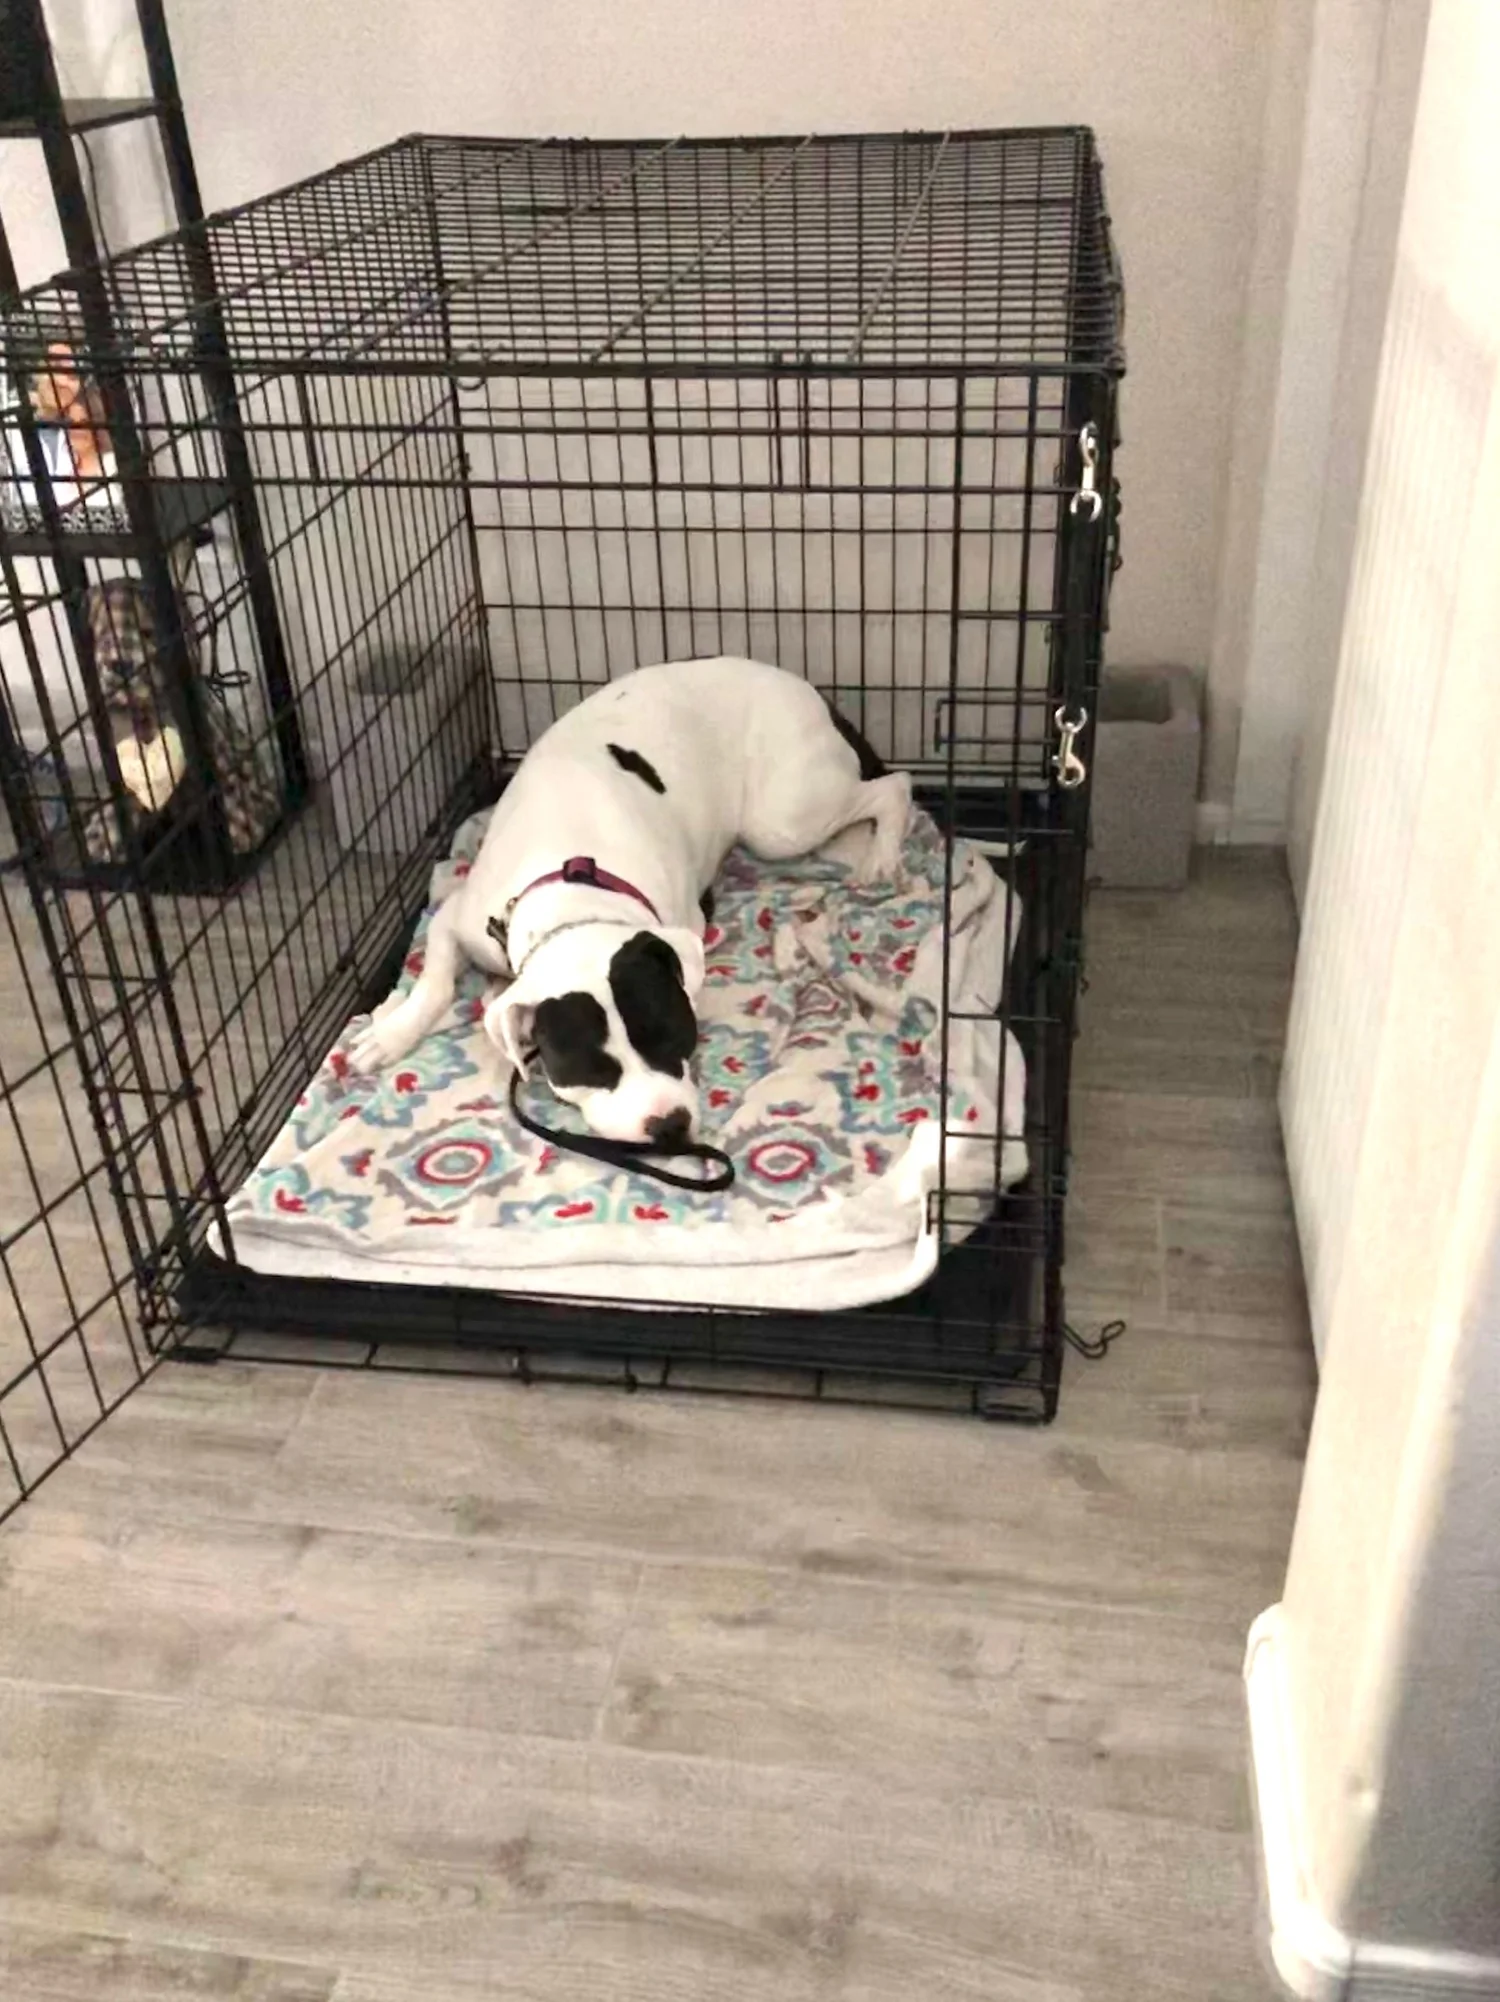
You’re about to bring a new furry friend into your home, and one of the first things you’ll need is a dog crate. It’s more than just a cage; it’s a safe haven for your pet, a place where they can feel secure.
But assembling one can seem daunting, especially if you’ve never done it before. Imagine the satisfaction of watching your dog happily settle into their cozy space, knowing that you’ve put it together with care. In this guide, you’ll discover how simple it really is to assemble a dog crate.
With clear steps and helpful tips, you’ll find that the task is not only easy but also fulfilling. Dive in and see how you can create a comforting retreat for your four-legged companion.
Choosing The Right Dog Crate
Begin by laying out the crate parts on the floor. Connect the panels by aligning the hooks and loops. Secure each corner with clamps or screws, ensuring stability. Attach the door last, checking its latch for proper functioning. Finally, place the crate mat inside for comfort.
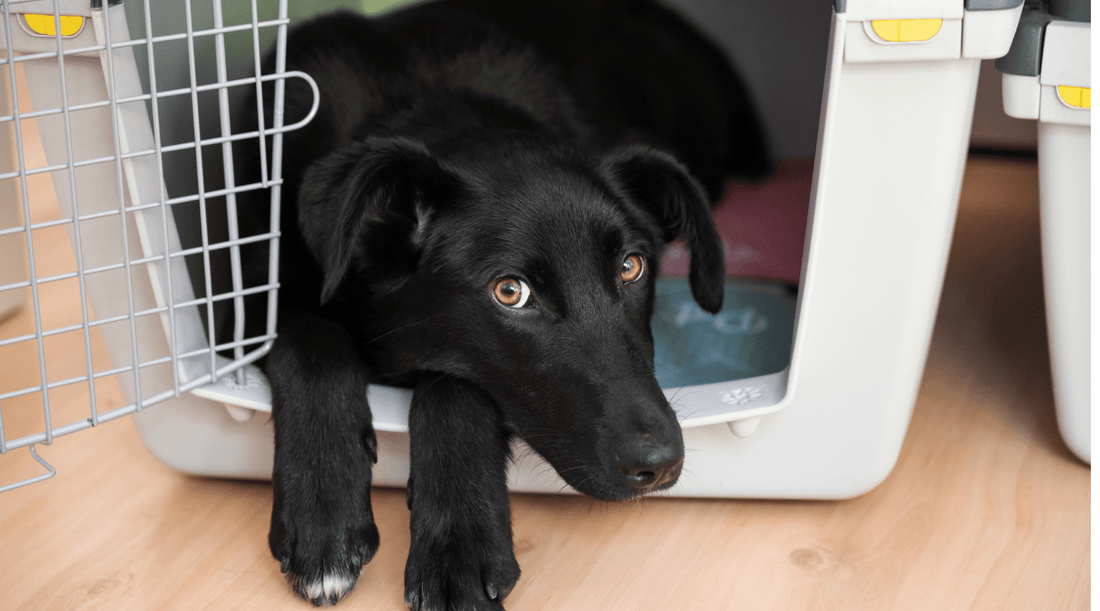
Choosing the right dog crate is crucial for your furry friend’s comfort and safety. It’s more than just a temporary home; it’s a space where your dog should feel secure and at ease. The right crate will make a significant difference in your dog’s well-being and your peace of mind.Size Considerations
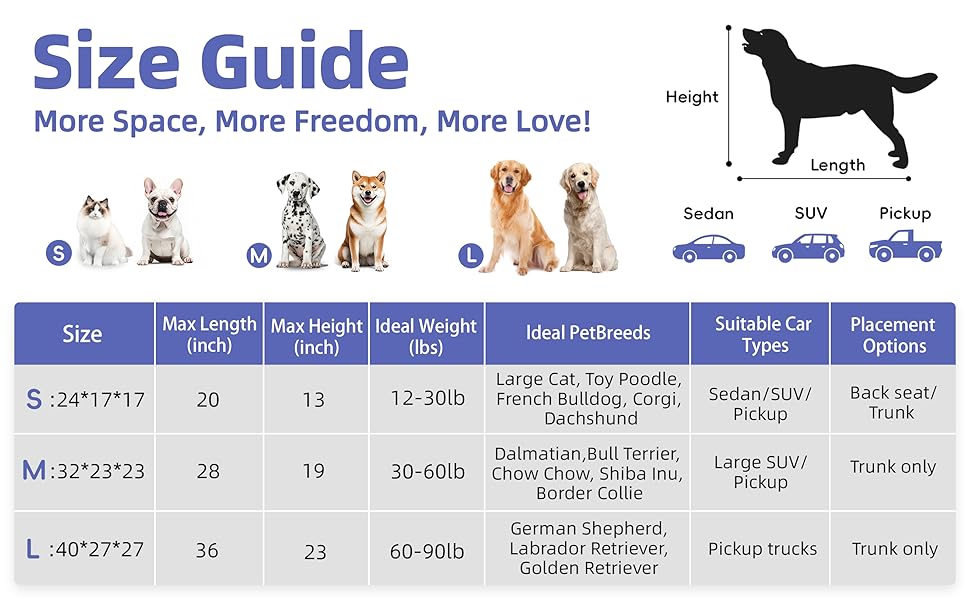
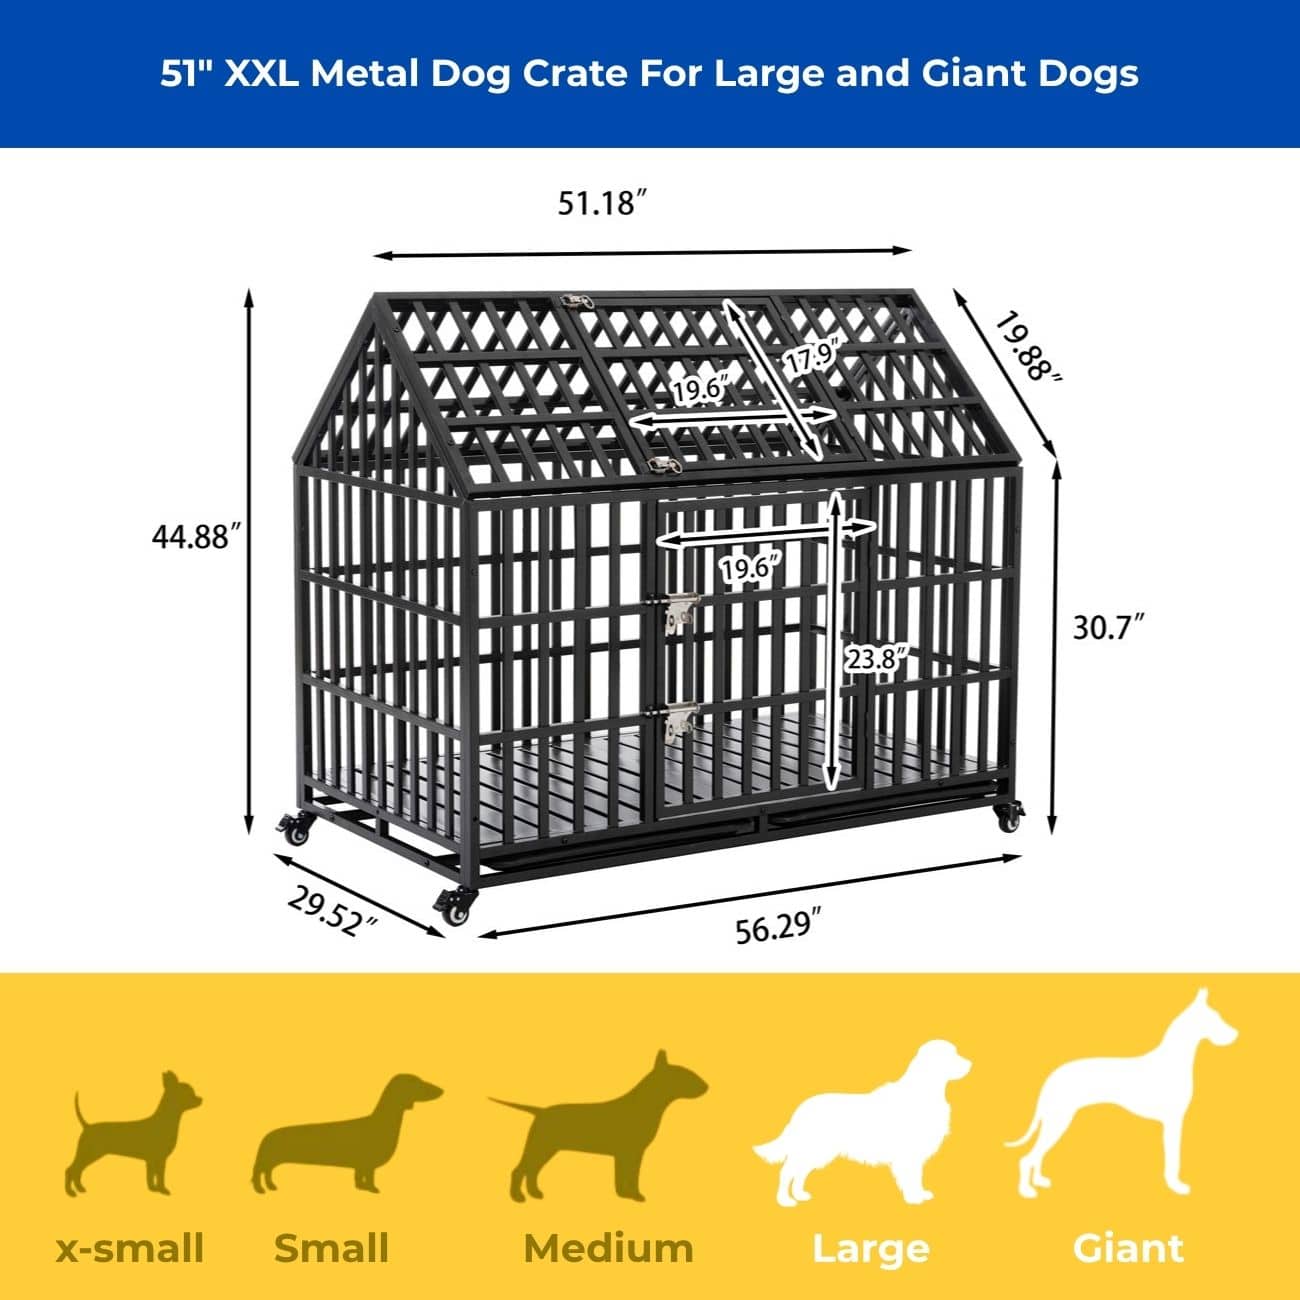
A common mistake is selecting a crate that’s too small. Your dog should have enough room to stand, turn around, and lie down comfortably. Measure your dog from the tip of their nose to the base of their tail and add a few inches to ensure a perfect fit. Don’t forget to consider your dog’s growth if they’re still a puppy. Opt for a crate with a divider that you can adjust as they grow. This way, you won’t have to buy multiple crates as your pup matures.Material Options
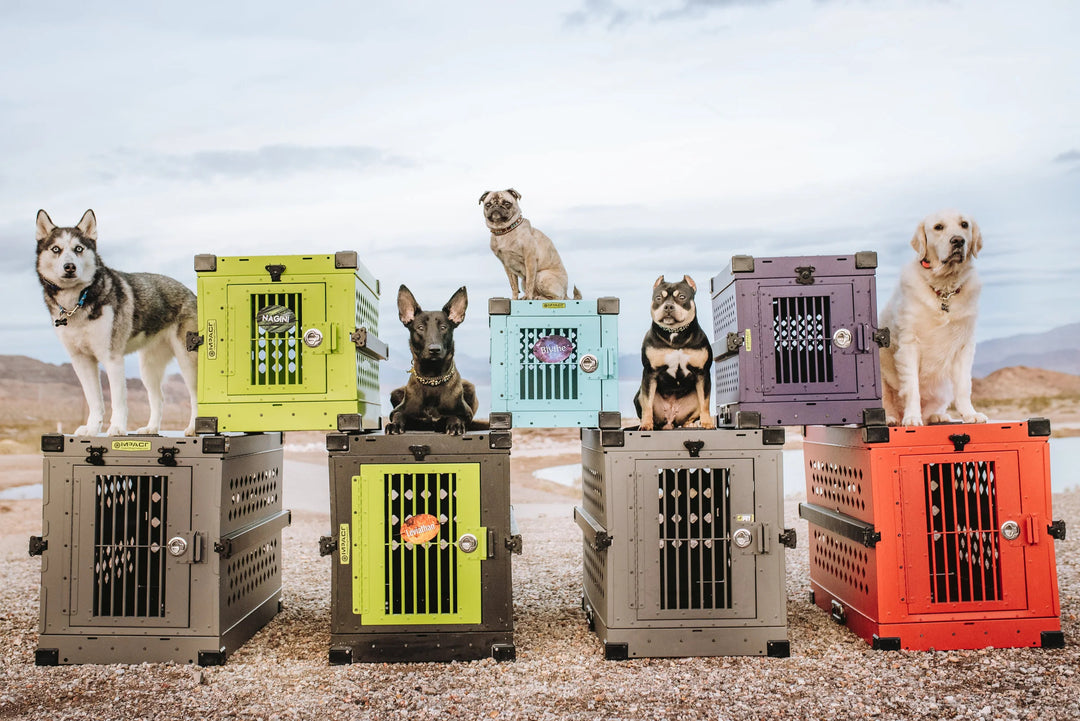
Dog crates come in various materials, each with its pros and cons. Wire crates are popular due to their durability and ventilation. They’re easy to clean and often foldable for storage, making them a practical choice for many pet owners. Plastic crates, on the other hand, offer more privacy and are typically used for travel. They’re sturdy but may not provide as much ventilation as wire crates. Think about your dog’s temperament—do they enjoy seeing their surroundings, or do they prefer a more enclosed space? Soft-sided crates might be perfect for calm dogs who need a cozy spot, but they’re not ideal for chewers or escape artists. Consider your dog’s habits and needs when choosing the material, ensuring it aligns with their personality and lifestyle.Gathering Necessary Tools
Assembling a dog crate can be a breeze if you start by gathering the right tools. This step is crucial because having everything at your fingertips makes the process smoother and more enjoyable. Imagine the frustration of hunting for tools mid-assembly—it’s a scenario you definitely want to avoid!
Essential Tools
Let’s talk essentials. You need basic tools to put together a dog crate efficiently. A screwdriver is often your best friend here. Most crates come with screws that require a Phillips head screwdriver, so make sure you have one ready. If your crate has bolts, a wrench or pliers can come in handy.
Don’t forget a pair of gloves. They protect your hands from sharp edges and give you a better grip. Safety first, right? Plus, having a small hammer around can help you tap pieces gently into place without damaging them.
Optional Accessories
While not essential, optional accessories can enhance the crate assembly process and the final setup. Consider using zip ties to secure any loose mesh or parts. They are cheap and incredibly effective.
Have you thought about adding a crate mat or liner? It’s an accessory that can increase your pet’s comfort level significantly. Also, if you’re assembling a crate with multiple parts, labeling them with sticky notes can help keep things organized and prevent errors.
What tools or accessories do you find indispensable when assembling a dog crate? Share your thoughts and make the experience better for everyone.
Preparing The Assembly Area
Choose a spacious and clutter-free area for assembling the dog crate. Ensure the surface is flat to prevent wobbling. Gather all necessary parts and tools in advance for a smooth setup process.
Assembling a dog crate might seem like a straightforward task, but preparing your assembly area can make all the difference. Just like any other DIY project, having a well-organized space ensures a smoother process and keeps you and your pet safe. Imagine setting up your new crate without the frustration of lost screws or tripping over misplaced panels. Let’s dive into how you can create an ideal assembly area for your dog’s new home.Creating A Safe Space
Start by choosing a location that’s free from clutter and hazards. This doesn’t just make your work easier, but also keeps it safe for your curious furry friend. Ensure the floor is clear of any small objects your dog could swallow. If you’re working indoors, use a mat or a towel to protect your flooring from scratches. Don’t forget to consider the lighting. Good lighting helps you avoid mistakes and ensures you don’t miss any small parts.Organizing Components
Before diving into the assembly, lay out all the parts. This helps you quickly identify any missing components and speeds up the process. Use a table or a flat surface to spread out the crate panels, screws, and instructions. This also prevents smaller pieces from getting lost. Consider sorting the parts into groups. For example, keep all the screws in a small container and place similar panels together. With everything organized, you can focus on the task at hand without unnecessary interruptions. Have you ever started assembling something only to find a crucial piece missing? A quick inventory check can prevent this headache.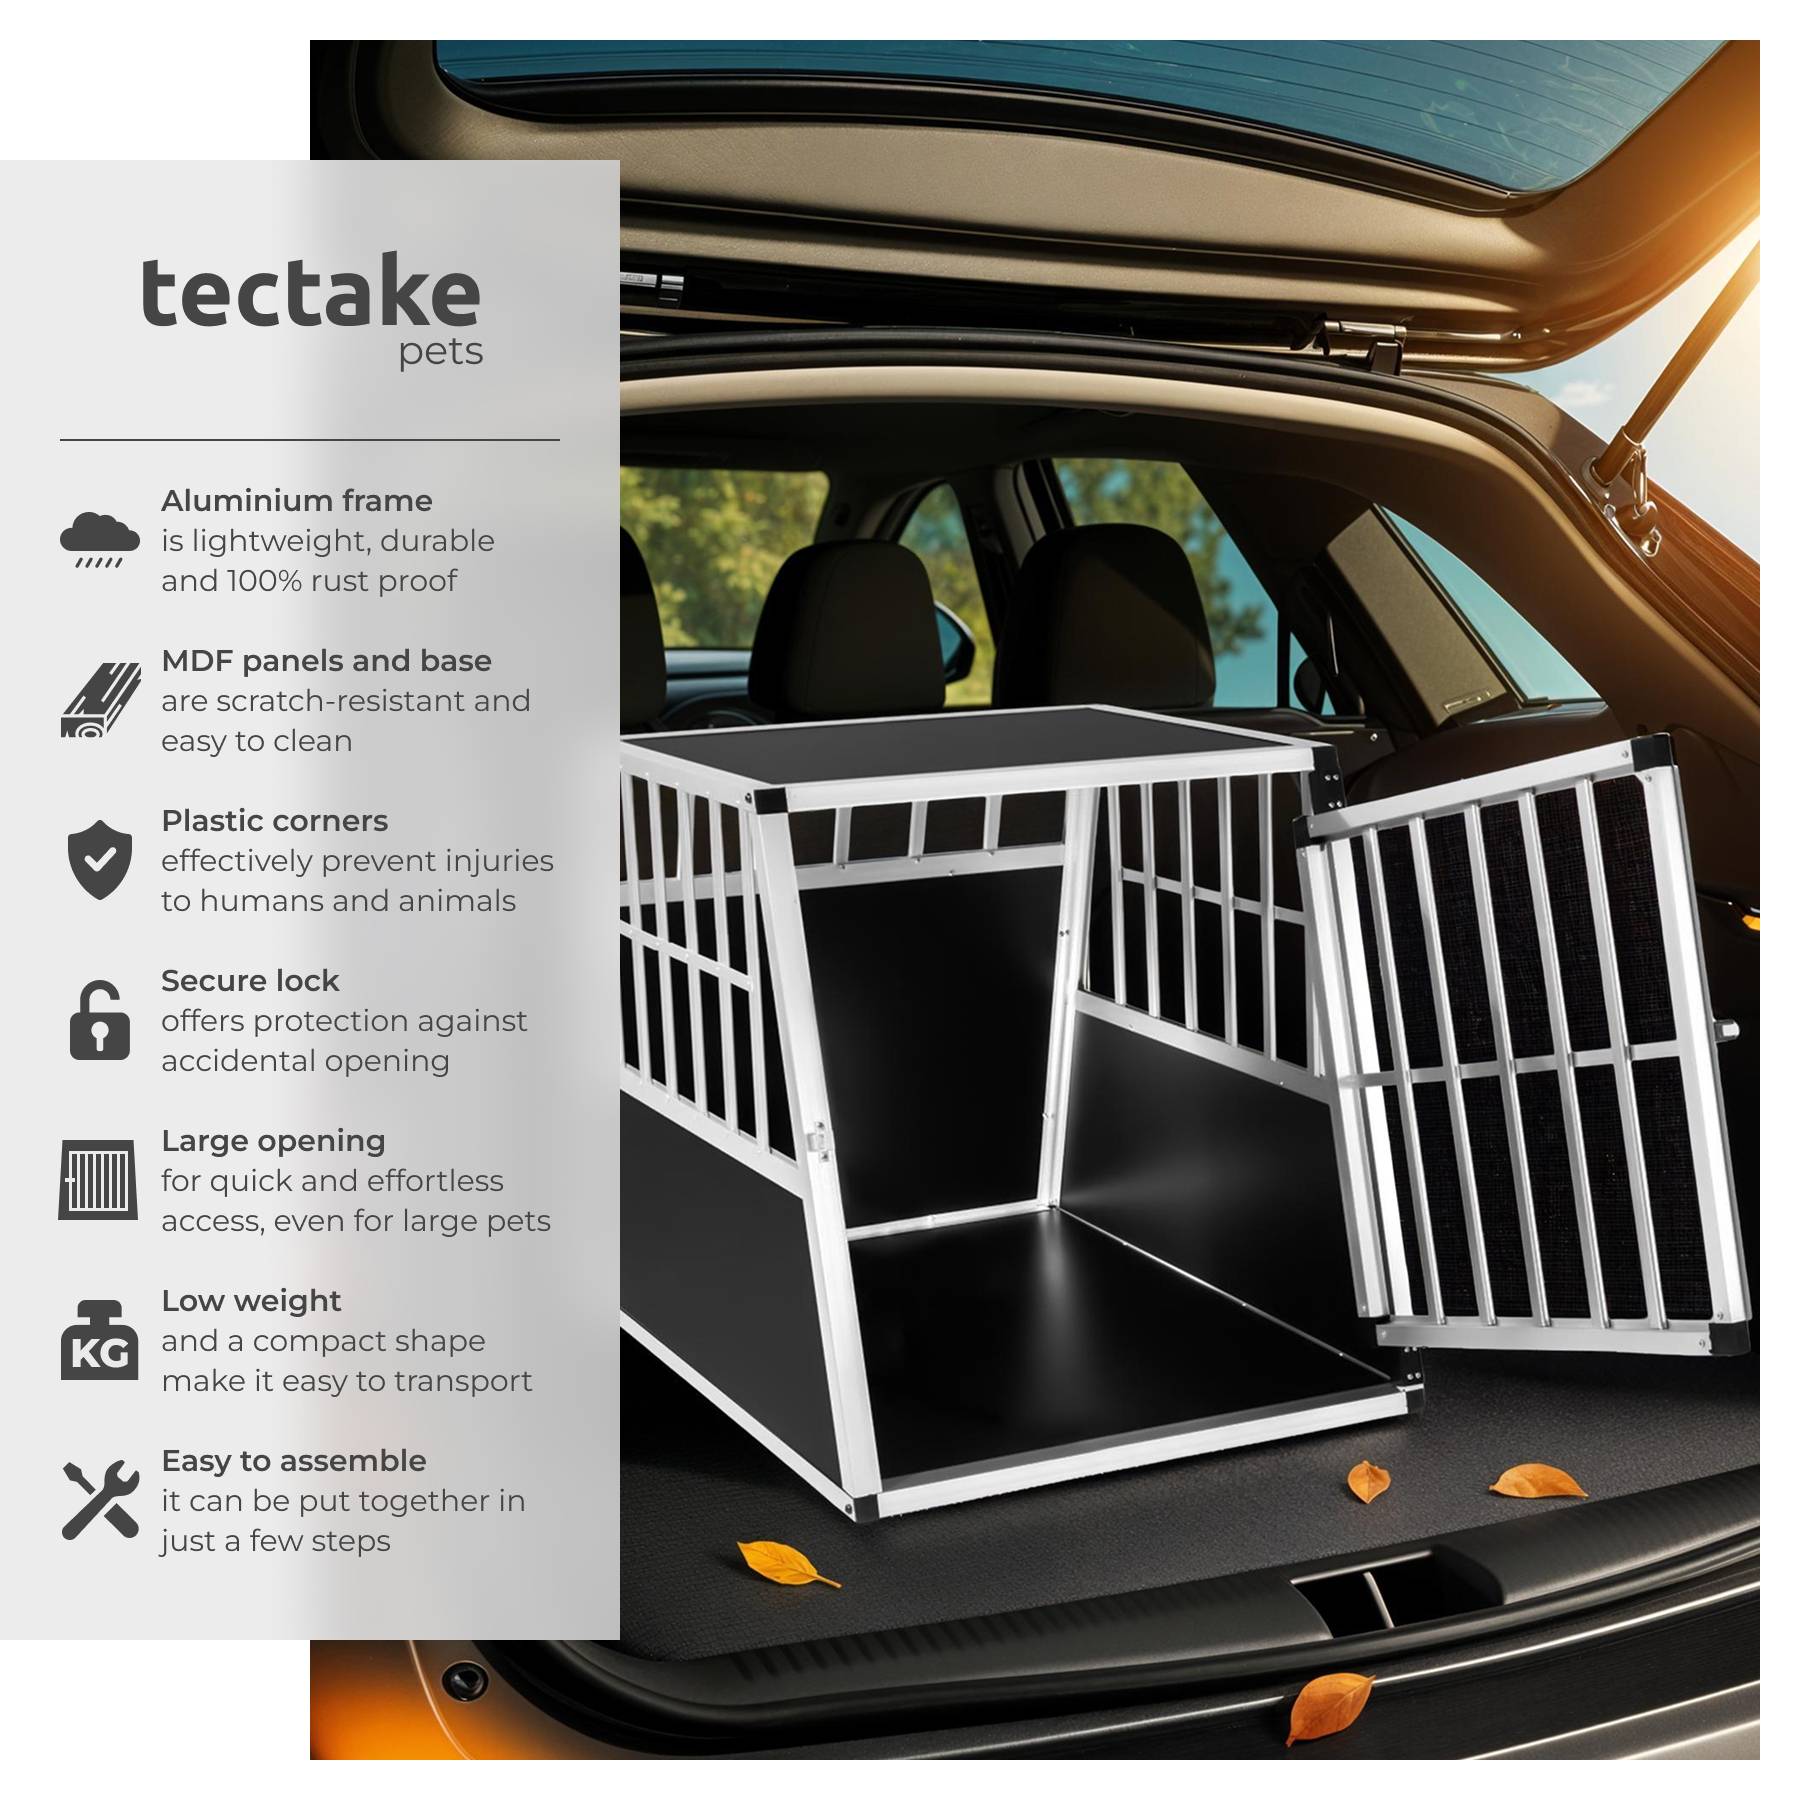
Credit: www.tectake.co.uk
Step-by-step Assembly Process
Assembling a dog crate can be straightforward with clear steps. Follow these instructions for a smooth setup. Your furry friend will enjoy their new space.
Assembling The Base
Start by laying out the base on a flat surface. Ensure it’s stable and even. This foundation supports the entire structure.
- Unfold the base, if foldable.
- Check for clips or locks at the corners.
- Secure these to keep the base sturdy.
Securing The Walls
Next, attach the walls to the base. These form the sides of the crate. Align each wall with the base edges.
- Start with one side panel.
- Clip or lock it onto the base.
- Repeat for the remaining panels.
Ensure each wall is tightly secured. This ensures the crate remains firm.
Attaching The Door
The final step involves attaching the door. Doors come in various styles. Choose the one that suits your crate.
- Locate the door’s hinges.
- Align these with the designated area on the crate.
- Secure the hinges with screws or clips.
Check that the door swings open and closes smoothly. Your dog crate is now ready for use.
Ensuring Stability And Safety
Ensure stability by securing each panel tightly when assembling a dog crate. Double-check connections to avoid wobbles. Proper assembly guarantees safety and comfort for your pet.
Assembling a dog crate is more than just putting pieces together. It’s crucial to ensure stability and safety for your pet. A secure crate offers a sense of comfort and protection. Proper assembly prevents accidental collapses or escapes, keeping your dog safe. Here’s how to check the stability of your crate.Checking Connections
Inspect all connection points carefully. Ensure that latches and screws are tightly secured. Loose connections can lead to instability. Verify that the panels align correctly and fit snugly. Misalignment may weaken the structure. Pay attention to the door, as it’s often a weak spot. Confirm the door lock works smoothly and holds firmly.Testing For Durability
Test the crate’s durability before use. Apply gentle pressure to the sides and top. The crate should not wobble or shift. If it does, check the assembly again. Try shaking the crate lightly. It should remain steady and firm. Consider the material quality too. Metal crates are typically more durable than plastic ones. Ensure the base is solid and flat to prevent tipping.
Credit: www.ebay.com
Making The Crate Comfortable
Assembling a dog crate begins with identifying the parts. Connect panels securely using the provided clips or screws. Ensure the door opens smoothly and the bottom tray is in place. Add soft bedding for comfort and familiarity.
Making the crate comfortable is crucial for your dog’s well-being. A cozy crate can become a safe haven for your furry friend. It should feel inviting and secure.Adding Bedding
Start with a soft and durable bed. Choose materials that are easy to clean. A washable cover is a good option. The bedding should be the right size for the crate. It shouldn’t bunch up or leave gaps. Consider your dog’s preferences. Some like plush beds, others prefer firmer options. Ensure the bedding is non-toxic and safe.Incorporating Toys
Toys keep your dog entertained and comforted. Select toys that are safe and durable. Chew toys are great for teething puppies. Interactive toys can engage your dog’s mind. Rotate toys to maintain interest. Avoid toys that can be easily destroyed. Ensure the toys are the right size. They should not be small enough to swallow. Regularly check for wear and replace damaged toys. Creating a comfortable crate space will help your dog feel at home.Training Your Dog To Use The Crate
Assembling a dog crate involves connecting panels securely. Follow the instructions for a snug fit. Ensure all latches and locks are properly aligned. A well-assembled crate provides a safe space for your dog.
Training your dog to use a crate can be a rewarding experience. The crate provides a safe space for your furry friend. It can help with house training and give your dog a cozy retreat. But introducing a crate needs patience and the right techniques. Let’s explore how to make this process smooth and enjoyable for both you and your dog.Positive Reinforcement Techniques
Encourage your dog to enter the crate with treats. Place a treat inside the crate, allowing your dog to walk in and get it. Praise your dog warmly whenever they go near or enter the crate. Use a cheerful tone to show your approval. Gradually, your dog will associate the crate with positive experiences. This method builds trust and comfort with the crate.Gradual Introduction
Start by letting your dog explore the crate with the door open. Allow them to sniff and inspect it at their own pace. Never force your dog inside. Gradually increase the time they spend in the crate. Begin with short periods and slowly extend them. Always ensure your dog feels relaxed and at ease. This step-by-step approach helps your dog adjust comfortably.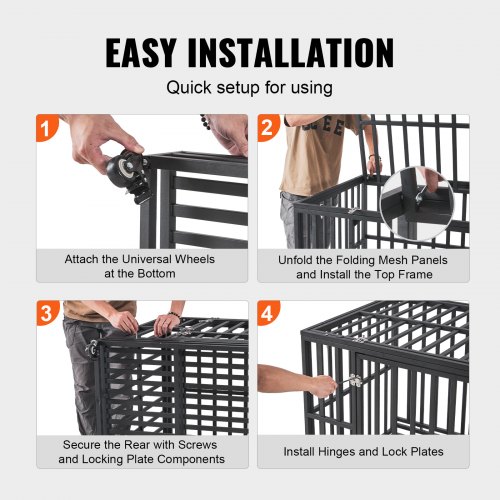
Credit: www.vevor.com.au
Frequently Asked Questions
What Tools Are Needed To Assemble A Dog Crate?
To assemble a dog crate, you’ll need basic tools like a screwdriver and possibly pliers. Most crates come with assembly instructions. Ensure you have all parts before starting. Always check for any specific tools mentioned in the manual for a smooth assembly process.
How Long Does It Take To Assemble A Crate?
Assembling a dog crate typically takes 30 minutes to an hour. Time may vary based on crate complexity. Following the instructions closely can make the process quicker. Ensure all parts are ready to avoid delays. Practice patience for a successful assembly.
Can One Person Assemble A Dog Crate Alone?
Yes, one person can usually assemble a dog crate alone. Most crates come with simple instructions. Ensure you have the necessary tools at hand. Larger crates may require some assistance. Always work in a spacious area for ease of movement.
Are Assembly Instructions Included With The Crate?
Yes, assembly instructions are typically included with dog crates. These instructions provide step-by-step guidance for easy assembly. Ensure you read them thoroughly before starting. If instructions are missing, check the manufacturer’s website for a downloadable version.
Conclusion
Assembling a dog crate is simple with the right steps. Start with the base, then attach the sides securely. Ensure all latches click into place. This keeps your pet safe. A well-assembled crate offers comfort and security. Double-check each connection.
Tighten any loose parts. This makes the crate sturdy. Follow these steps, and your dog will have a cozy space. Remember, a safe crate means a happy pet. Enjoy the process and give your dog a new home.
Similar Posts